
Related articles
Track your own money with Borderless Budget
Every account stays in its own currency, and every total adds up in yours. The first 30 days are free.
Get startedSteps to import transactions from a CSV, OFX, QFX, or Excel file.
Every account stays in its own currency, and every total adds up in yours. The first 30 days are free.
Get startedBorderless Budget imports transactions from CSV, OFX, QFX, and Excel files. Use the import flow to load history from a bank we do not connect to, to backfill before you linked an account, or to add a one-off file from an account you keep manually.
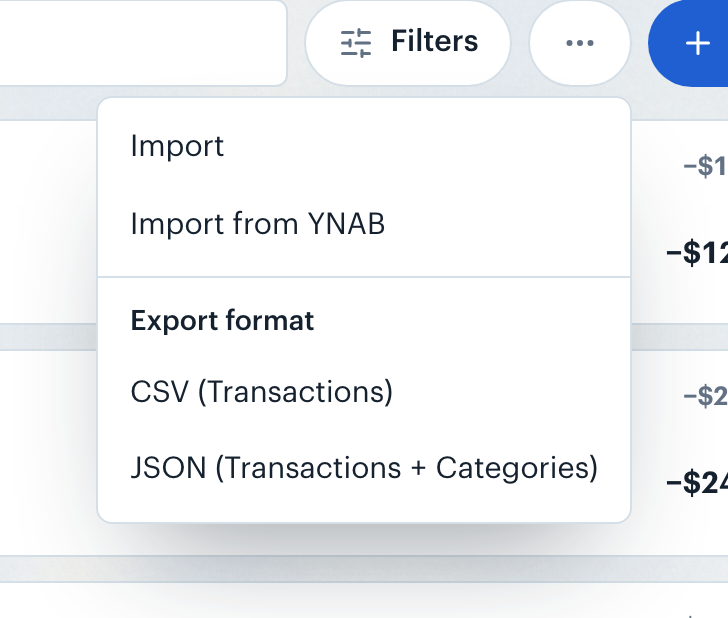
On the Transactions screen on a computer, click the More actions button (the ⋯ icon in the toolbar) and choose Import. On a phone, tap the plus button beside the title and choose Import CSV. You can also go to the Import screen directly.
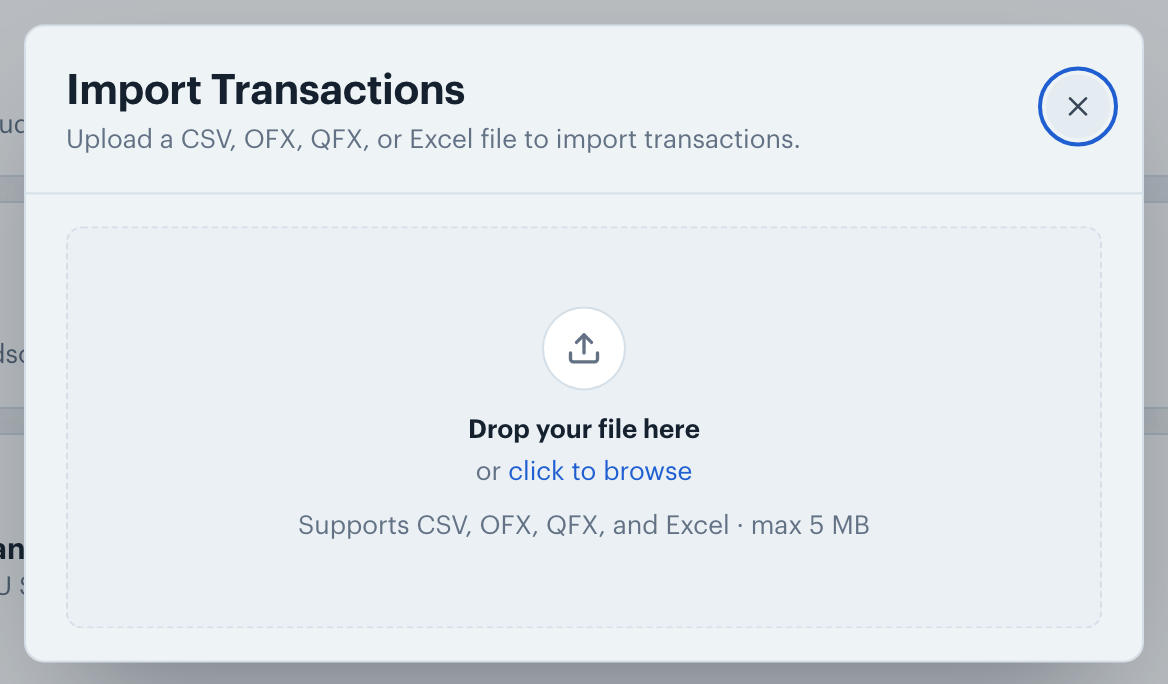
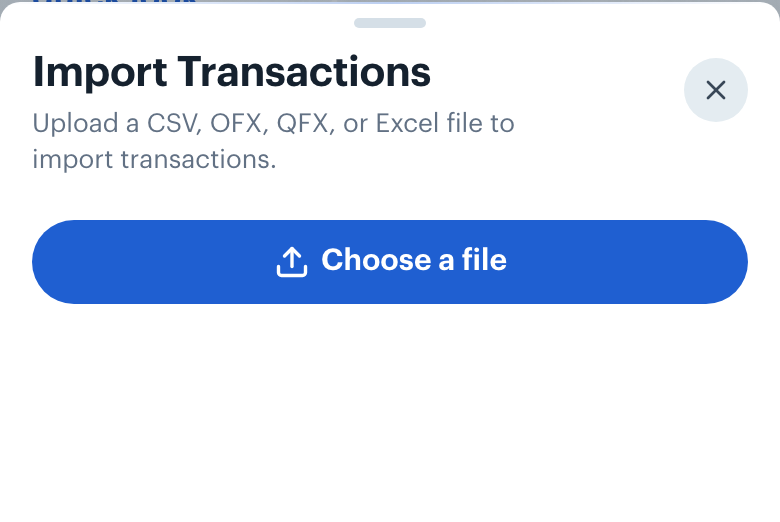
The import screen opens with the prompt Upload a CSV, OFX, QFX, or Excel file to import transactions. On a computer, drop your file into the page or pick it from disk. On a phone, tap Choose a file.
After the upload, a preview of your file appears. Match each column in your file to a Borderless Budget field using the "Column mapping" controls. Pick a "Date format" so dates parse correctly and a "Sign convention" so amounts line up (positive for expenses or positive for income). If your file has a row of column names, tick "File has a row of column names" so it is not imported as data. When your bank puts a few lines above that row, "Header is on row" is set for you and the lines above it are ignored; change the number if it picked the wrong row.
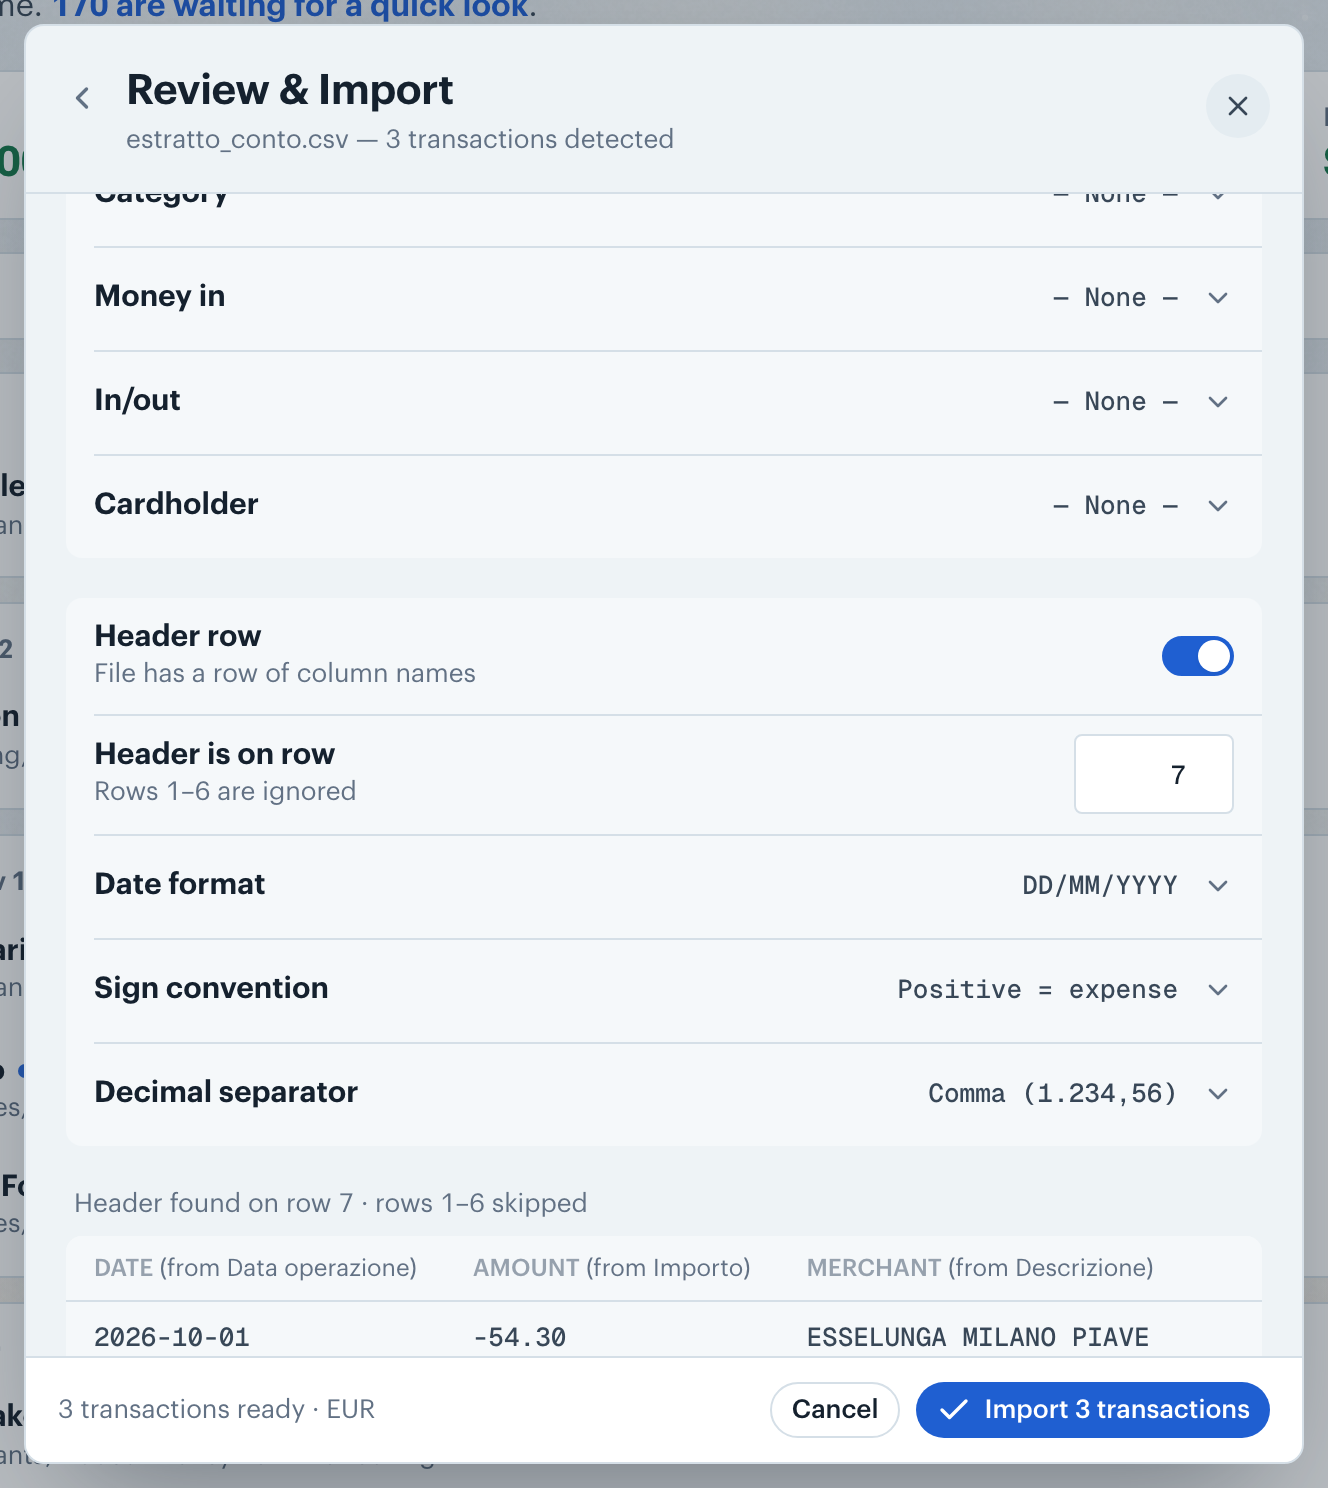
Some banks put money in and money out in two columns. Pick the money out column as the "Amount column" and the other as the "Money in column". If your file has one amount and a column saying which way it went (such as Af/Bij or Debit/Credit), pick that column as the "In/out column".
If your card statement says who made each charge (such as Amex's Card Member column), pick that column as the "Cardholder column" so you can filter transactions by cardholder; a card number keeps only its last 4 digits.
Below the column mapping is an "Import account" section, with a row for each manual account you have and "Create new manual account" last. Pick an account's row to add the transactions to it, or "Create new manual account" and give the new account a name and currency. Transactions take the account's currency unless your file has a currency column, so pick or create the account in the currency your bank uses. Then select the import button, which counts your file's rows (for example "Import 212 transactions"), to load the transactions; categorization rules run automatically as the rows land. If you close the sheet while the import runs, it keeps going, and a message on the Transactions screen tells you how many transactions came in.
When the import finishes, select "Review them" next to the imported count. The Transactions list opens with only that import's rows, under a chip naming the file and the import date. Remove the chip to see every transaction again. Rows can read "Uncategorized" for a minute while categorization finishes.
👋 Still have questions? Email [email protected].